From time to time you will be given access to a data set that contains more data than what you need at the moment. For Example - it could be an entire year's sales information - but you only need 1 month of data. There are various scenarios where you might want to split up a data set so that you can work with each part. You might also want to trend the sales information over all 12 months - splitting the original data table can make this easily done.
InSights Into Data provides the ability to split an existing data table into multiple data tables - quickly and easily. It works with any data set - and you just have to tell it what fields you want to include, and what fields you want to split the data on.
Once you have data in a memory table in InSights Into Data, you can then use our splitting function to split that data into many different memory tables.
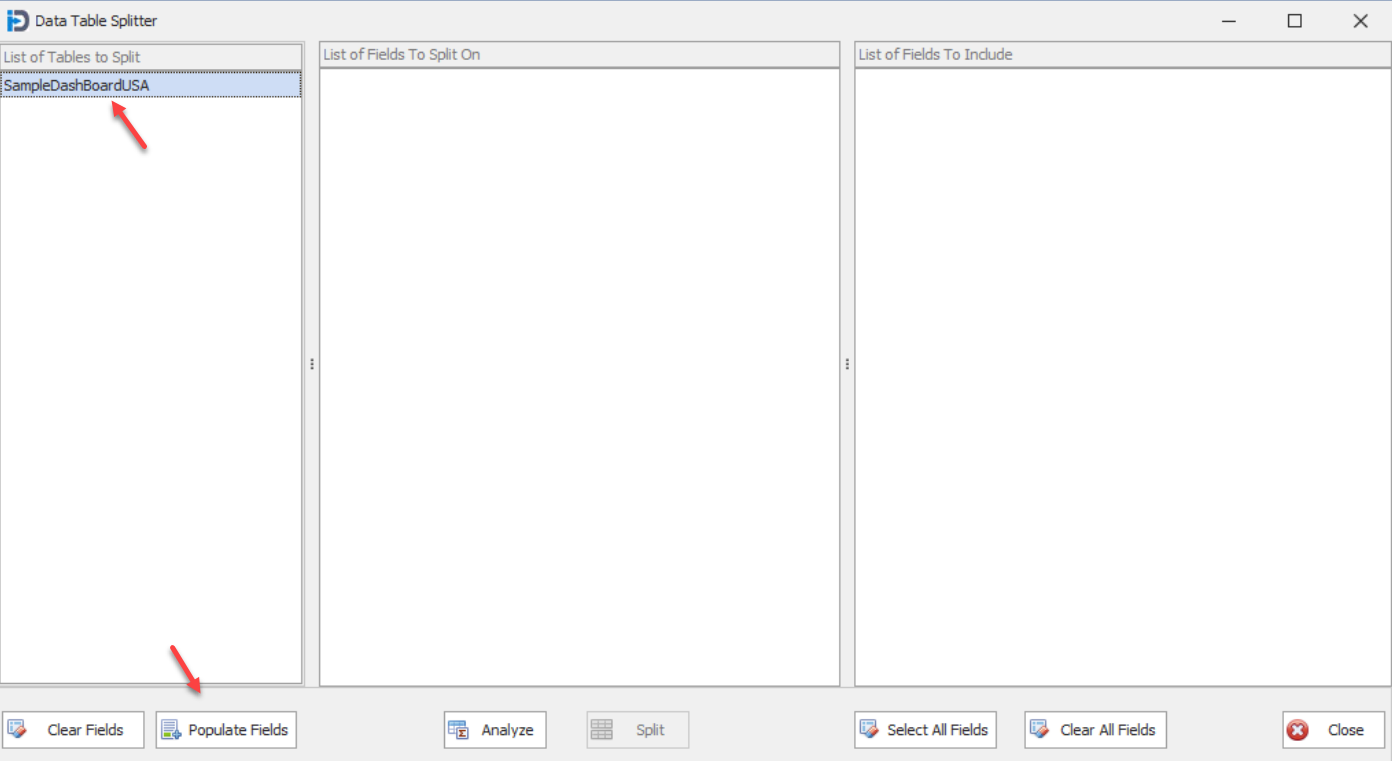
The screen shown below shows you what this screen might look like. The current in-memory tables are listed on the Left. Once you have selected one of them (you can only select one at a time) - you can click the Populate Fields button - and it will populate the list boxes on the right and the middle.
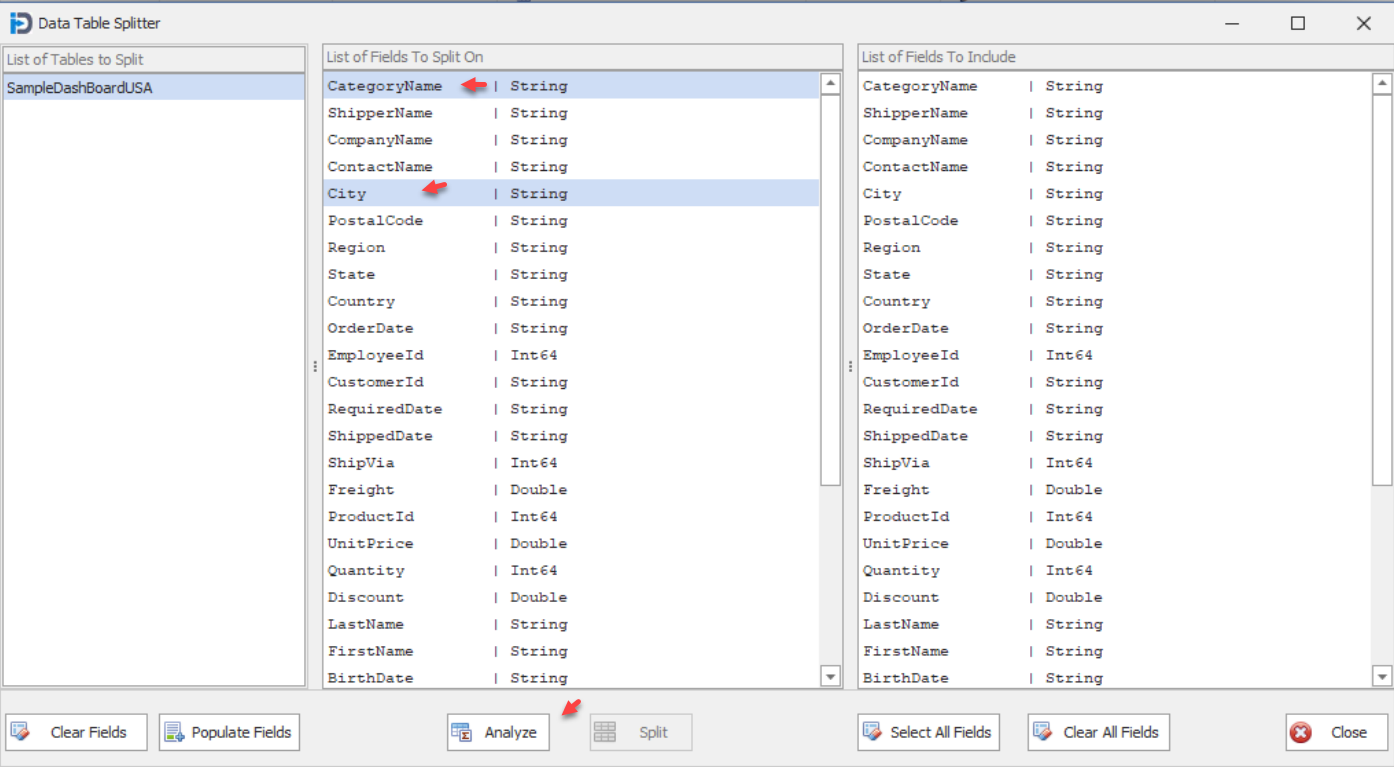
The fields are populated and ready for you to select how you want to break the data table up. In the example below we have selected Category and City. This means we will break the data up by those two fields - and allow you to select what new data tables you want to create. Once you have selected the fields you want to split the data on - click the Analyze button at the bottom. Note that the Split button is grayed out until you have completed the Analysis.
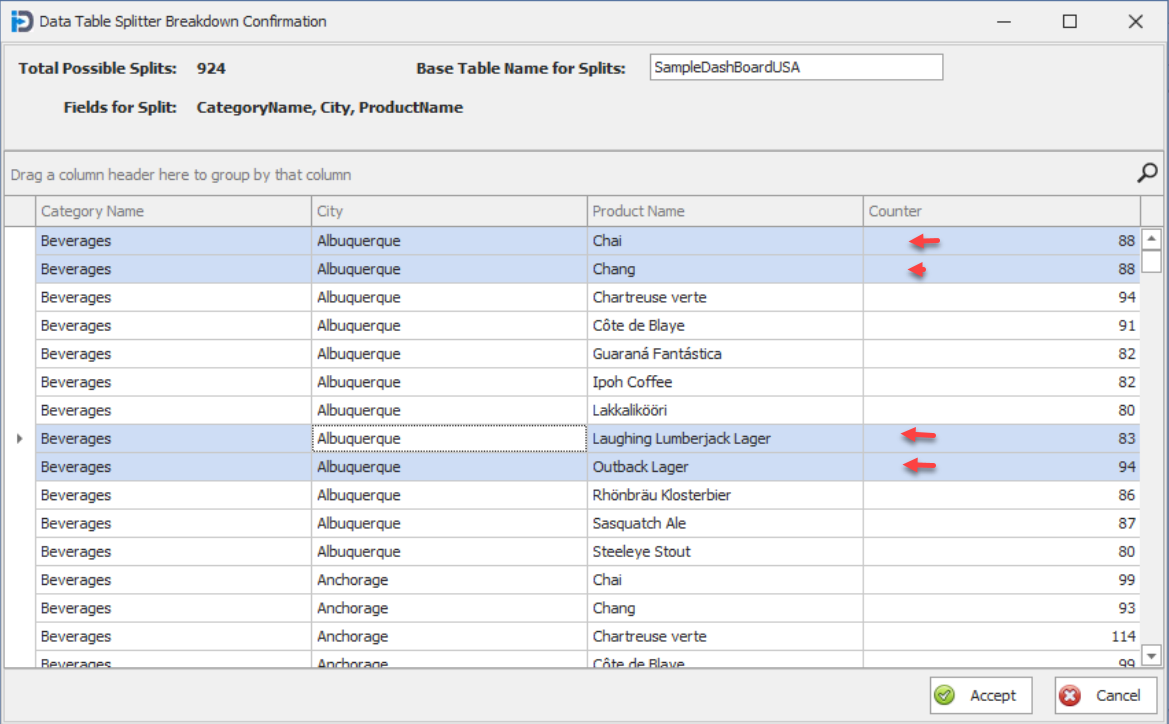
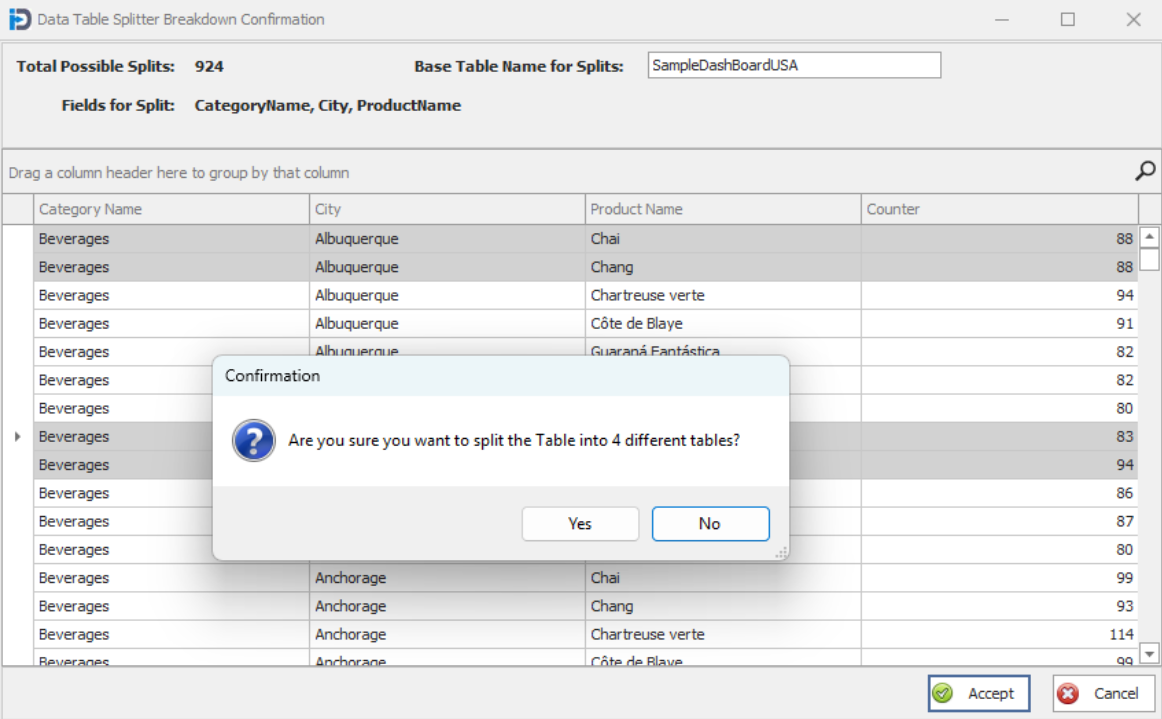
When you click the Analysis button - the following screen will be shown. This screen shows you how your data will be broken down. Each row shows the field values for the fields that have been selected and the count of the number of records that will be in each table. This is useful information as it shows you how big the resulting data tables will be.
Once you have selected which splits you want to create (by selecting rows in the grid) - you can hit the Accept button to go back to the preceding screen.
Before you are sent back to the preceding screen - you will asked to confirm exactly how many data table splits you wish to create. In this case we have selected 4. Click Yes to continue to the preceding screen - or No to go back to the Analysis screen.
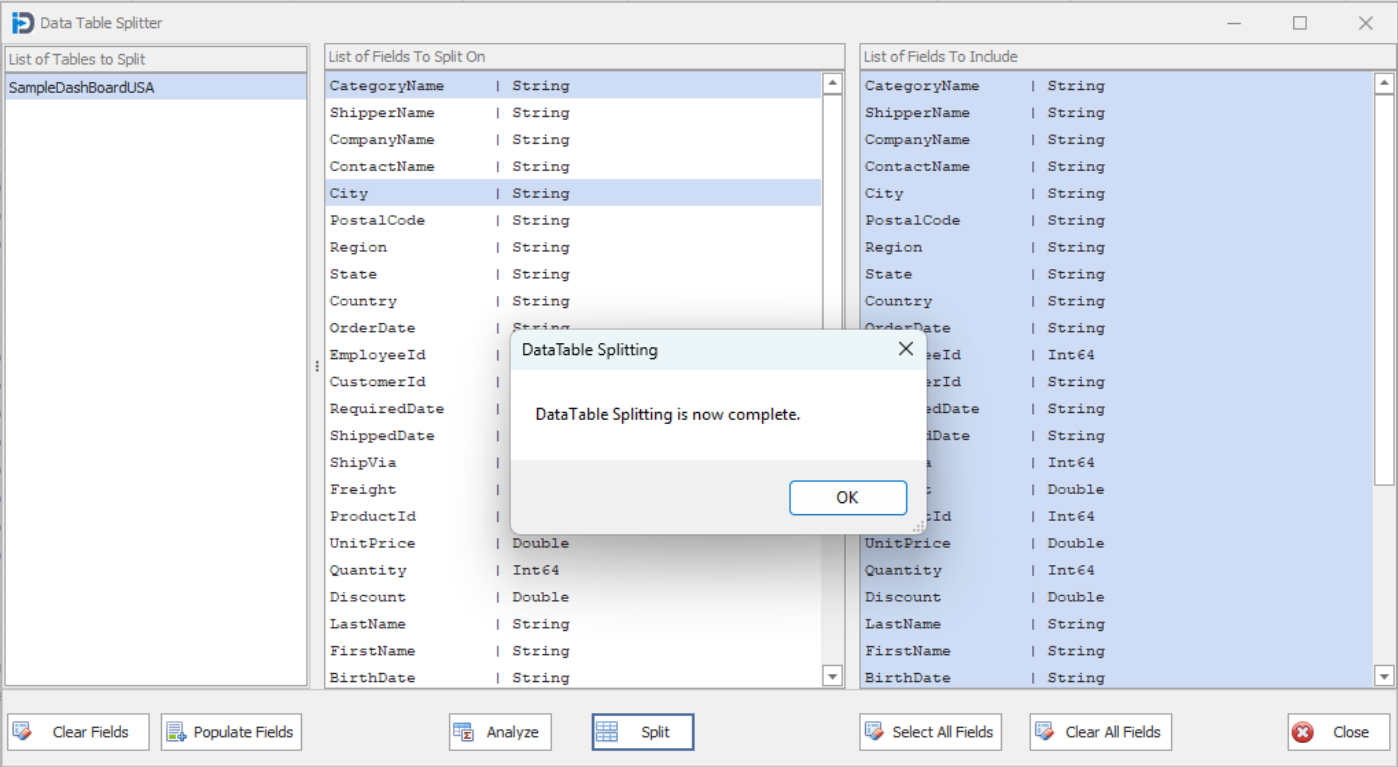
Once you are back on the Table Splitter screen - you will notice that the Split button is now active. When you click it - the splitting will actually be performed and you will receive the message that Data Splitting is now complete. At this point - you will have your new data tables in memory - and you can use theData Table Action screen to take whatever actions on those tables you want to.